In the “Control your home IoT”, the configuration steps for controlling the home IoT system remotely, are described. In this post I will describe how to control your system graphically!
The main steps for this installation is the same as previous post, including: installing TOR and configuring hidden service.
Here I will describe remote connection using VNC. VNC stands for Virtual Network Computation and is a protocol for graphically control remote servers. Also there is a nice web GUI for VNC named noVNC. I will describe installing vnc4server as VNC server and noVNC.
Installing vnc4server
In this step, just install vnc4server in your home IoT Raspbian:
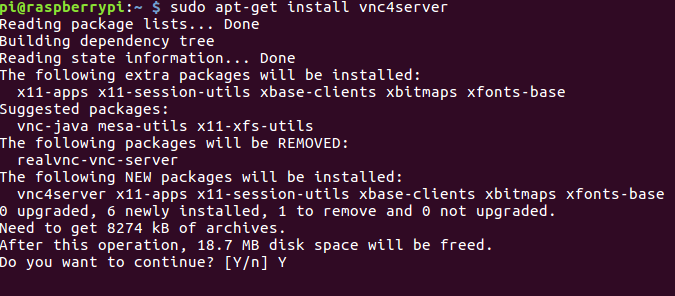
$ sudo apt-get update
$ sudo apt-get install vnc4server
Then start the vnc4server using vnc4server command:
$ vnc4server
Then the vnc4server asks you to provide a password with maximum 8 characters.

Installing noVNC
noVNC can be installed using apt-get. You may check this link for more documentation.

$ sudo apt-get install novnc
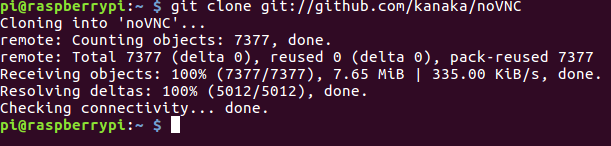
But I prefer launching by their code in GitHub. The commands are from this link.
$ echo y | sudo apt-get install git websockify<br /><br /><br /><br />
$ git clone git://github.com/kanaka/noVNCLaunch without WSS/SSL support:
$ ./noVNC/utils/launch.sh --vnc [IP]:[PORT]Launch with WSS/SSL support:
$ ./launch.sh --cert /path/self.pem --vnc [IP]:[PORT]
And Voila! Everything is ready for fire up. Place 127.0.0.1 as IP and 5901 as PORT in the above commands.
$ ./noVNC/utils/launch.sh --vnc 127.0.0.1:5901

As you see, it will accept port 6080 from browser and will proxy the input commands to the vnc port (5901).
If you have forgot to start vnc4server, you should start it.
If you forgot the password for vnc, you can reset it by typing vncpasswd in terminal.
The final step is to add TOR hidden services.
I will add the following line to the previously configured torrc file and restart tor:
HiddenServicePort 80 127.0.0.1:6080
The sequence for remote desktop service is as follows:

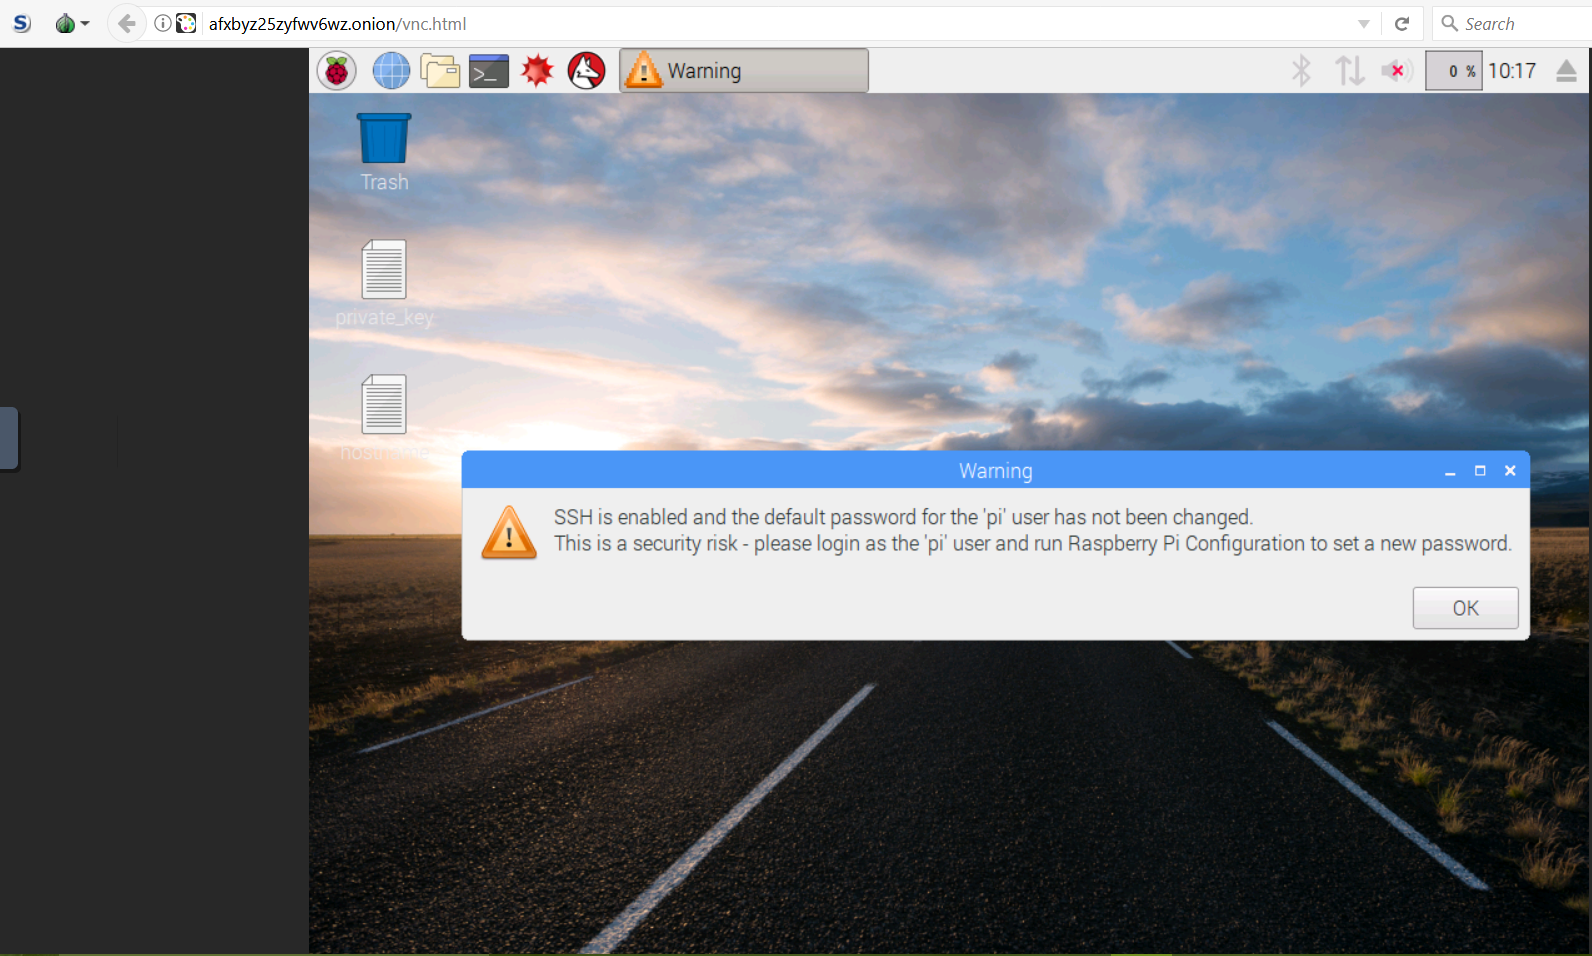
Every thing is OK. Just start Tor Browser in anywhere and type your hostname (check how to create Tor hidden service in previous post) in Tor Browser.

After pressing Connect button, you should insert password:

And if the password is correct, you have accessed remote desktop with VNC.