You may be like to collect and watch movies, TV series, or music archives. Then you have to store them in your storage ([External] Hard drives, NAS, …) and use some software to manage them.
However the scenario sounds good but there are other great ways to turn your home network to a full capable media center. Read more to learn how to configure and change your home network to media center.
As mentioned above you can use software solutions such as Ember Media Manager, Tiny Movie Manager for movies or MusicBrainz Picard for music.
Possible Media Sources
In your home network there may be some media sources such as:
- NAS: Network shared NAS storage which contains your media.
- Shared Folder: Windows (or *nix) shared folder containing your media.
- Network Stream: Which streams your media over network.
- USB: Media on a USB stick
- External Hard: same as USB sticks
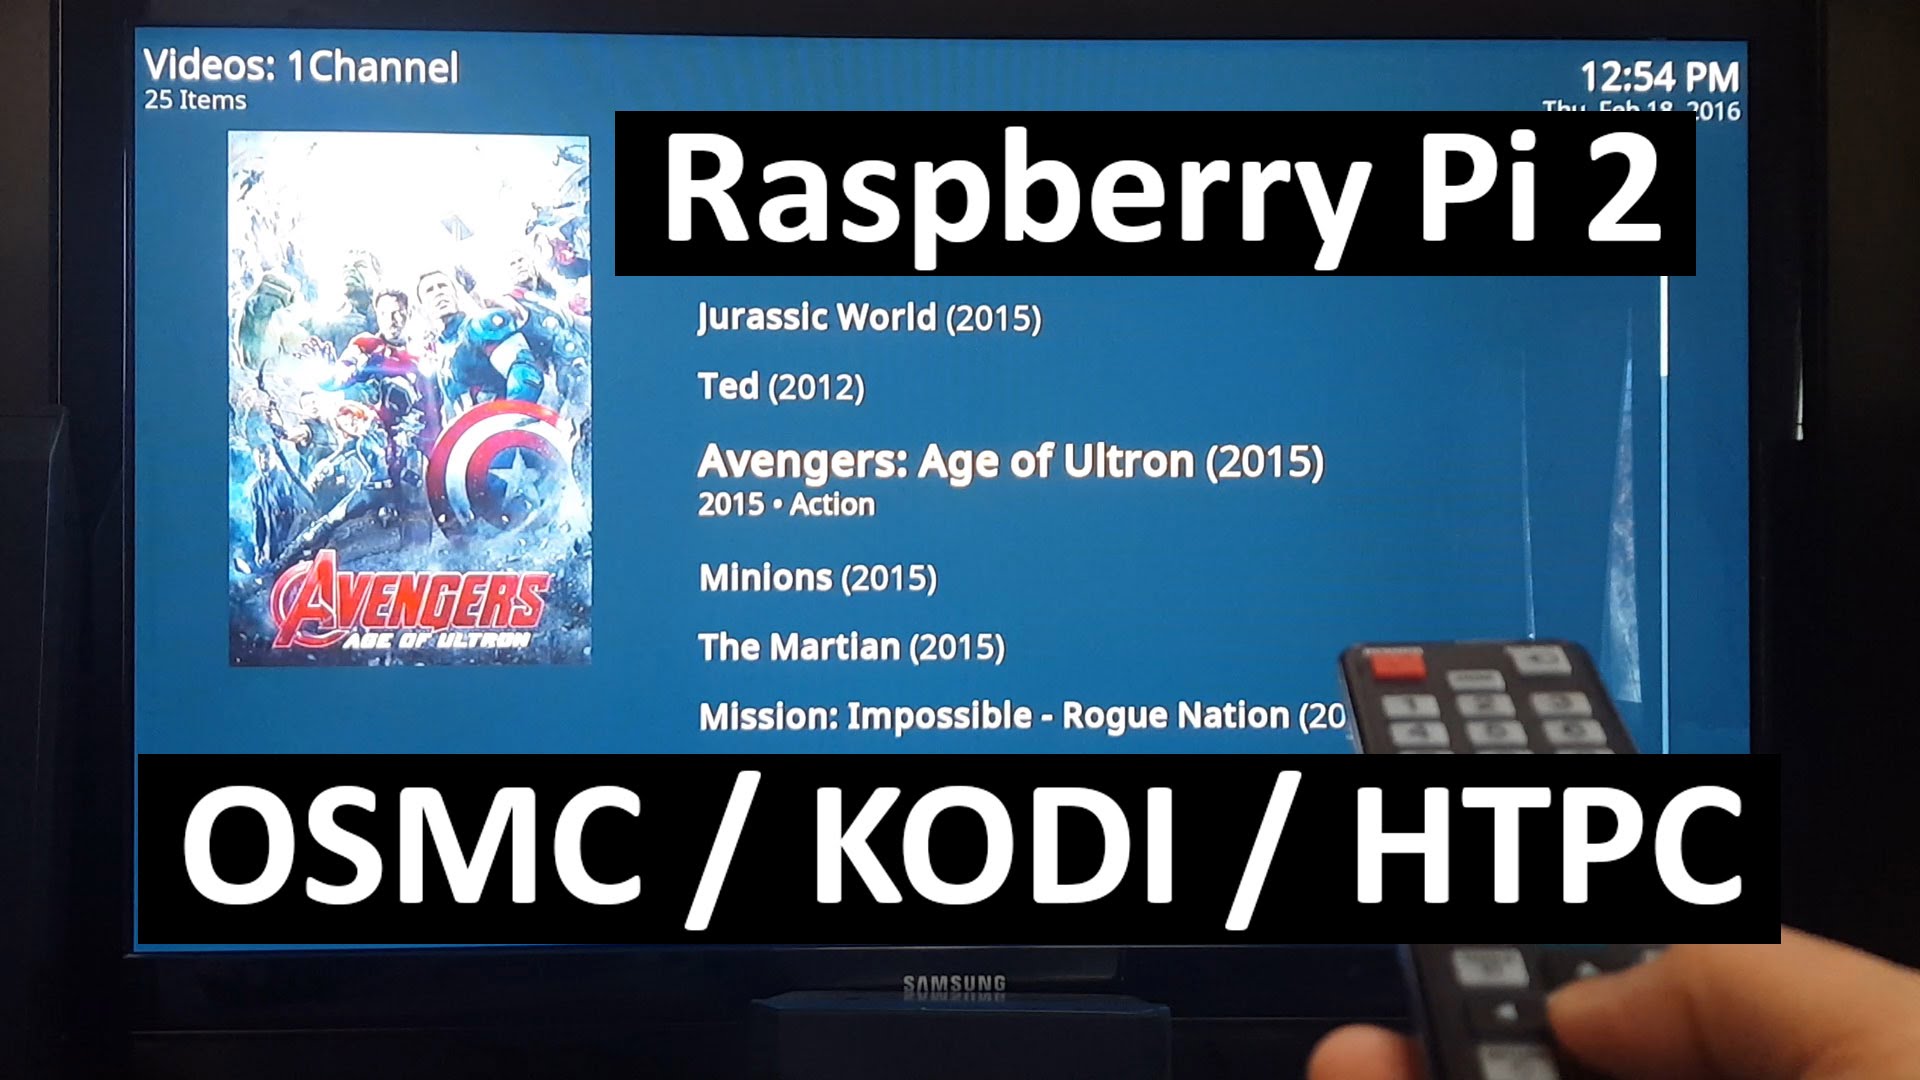
So there is a solution named OSMC (Open Source Media Center) which turns your TV (smart TV) to a media center.
What you Need
- RaspberryPi (Visit this link)
- MicroSD card (Visit this link)
- USB stick or hard drives (You can buy everywhere!)
- Probably a NAS (Visit this link)
Installing OSMC
Firstly you need to download OSMC installer and OS for your desired device. In our case we want to install it on RaspberryPi 2/3.
Link for downloader and OS (Last release while writing this post). You should put your microsd to your PC and run the installer. You may follow this video for details.
So great! Now you have your OSMC installed. It is recommended to use wired network to connect your RaspberryPi (also work with specific wireless dongles).
Configure OSMC
- Insert OSMC installed microsd card to RaspberryPi
- Plug your network cable to RaspberryPi
- Connect your TV to RaspberryPi through HDMI
- Plug your RaspberryPi power source
You should now see the OSMC in TV screen. For first run it takes some times to boot.
After it you may configure the first parameters. By default the SSH is enabled in OSMC. Now its time to do some advanced configuration.
Connect Your NAS (or Windows share)
You can mount NAS folders temporary or permanently.
Temporary
Login through SSH:
mount -t cifs -o username=<share user>,password=<share password> //WIN_PC_IP/<share name> /mnt
In this example the //WIN_PC_IP/<share name> to /mnt folder. Then you should add a video source to /mnt folder in OSMC. Visit this link.
Permanently
Login through SSH:
If you want to mount it permanently, add following line to your OSMC in /etc/fstab
//WIN_PC_IP/<share name>/ /mnt cifs noauto,x-systemd.automount,username=<share name>,password=<share password>,uid=1000,gid=1000,iocharset=utf8 0 0
which will mount your share to /mnt each time OSMC boots up. You have previously added /mnt as video source, so it will be displayed in Videos. OSMC will do search your folders for movies and download metadata using IMDB or other sources.
Connect Your USB
When connect your USB, OSMC will mount it automatically. But be aware, if an icon appeared in top right corner, it means that there is not enough power to supply your USB.
Play network stream
You may stream videos through your network. Here is a tutorial to stream using VLC. However, I myself prefer RTSP more than HTTP.
For playing it using OSMC, do the following:
- Login to OSMC using SSH
- Create a txt file where you want (I suggest to make it under /home/osmc/ for example /home/osmc/Live/Stream.strm)
- Paste the address of stream in it and save it:
http://host:port/path/stream
- or
mms://host:port/path/stream
- or
rtsp://host:port/path/stream
Add the folder (/home/osmc/Live) as a video source and play the .strm file in OSMC after streaming video through your network. That’s it 🙂
You may check the following sources for more information: