

I like to play with VirtualBox. So in this post I will show you how to install Kali Linux on a USB disk with VirtualBox which can be run both on VirtualBox and directly bootable.

Every change you made with VirtualBox (or direct access) will be stored on USB and can be accessed with Direct Access (or VirtualBox). It is awesome to use VirtualBox when you want to work beside another OS. And also awesome when you want to boot directly from Physical Computer.
The steps are very easy:
- Create a virtual hard drive pointing to the USB.
- Install Kali in VirtualBox as usual.
- The disk is ready!
Requirements to Installing Kali Linux on USB
First of all you should download Kali Linux ISO from this link. Next download and install VirtualBox from this link.
Here you go. It is ready to fire!
Create a virtual hard drive
Here we are going to create a virtual disk (VMDK) that points to a physical drive. All the data is written in the physical drive and VirtualBox can directly access it.
- Create a terminal (or command prompt) with administrative privileges.
- Go to VirtualBox installation Directory
- If you are on Linux or MAC it is not necessary, but if you’re running Windows, you should do this step: C:\Program Files\Oracle\VirtualBox
- Attach your USB and find its physical driver number.
- On windows goto Disk Management and find the Disk Number (As an example Disk1 refers to your USB, so the number is 1)
- Create Virtual Drive with the following command:
- For Windows
VBoxManage internalcommands createrawvmdk -filename "C:\Users\<user_name>\VirtualBox VMs\<VM_folder_name>\<file_name>.vmdk" -rawdisk \\.\PhysicalDrive# - For Linux:
VBoxManage internalcommands createrawvmdk -filename "</path/to/file>.vmdk" -rawdisk /dev/sda - For Mac OS X:
VBoxManage internalcommands createrawvmdk -filename "</path/to/file>.vmdk" -rawdisk /dev/disk#
- For Windows
# sign is the disk number. Step 4 credits go to this link .
Install Kali in VirtualBox
This step is easy. You should start VirtualBox with administrative privileges. The only point is that attach created virtual disk to the new virtual machine as below:

Then start the virtual machine. It will ask to attach Kali ISO.
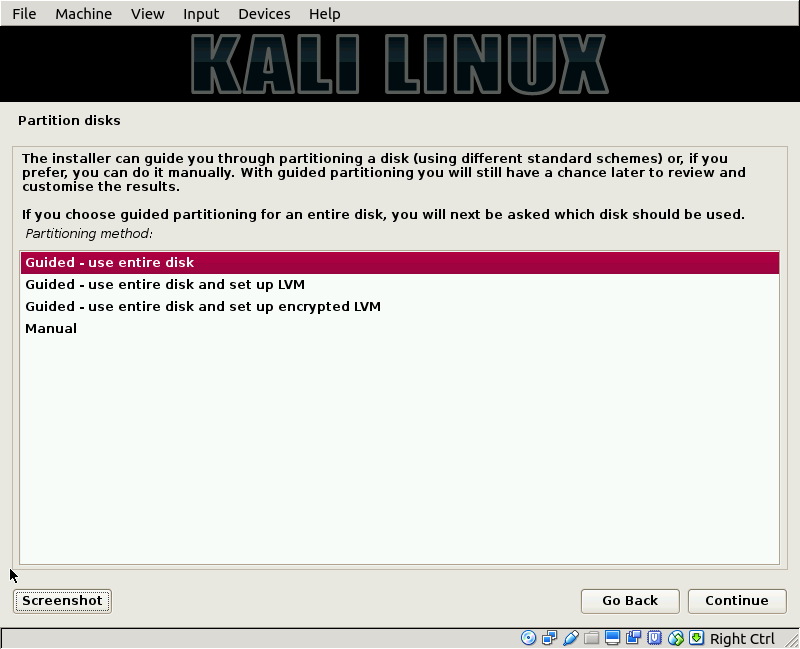
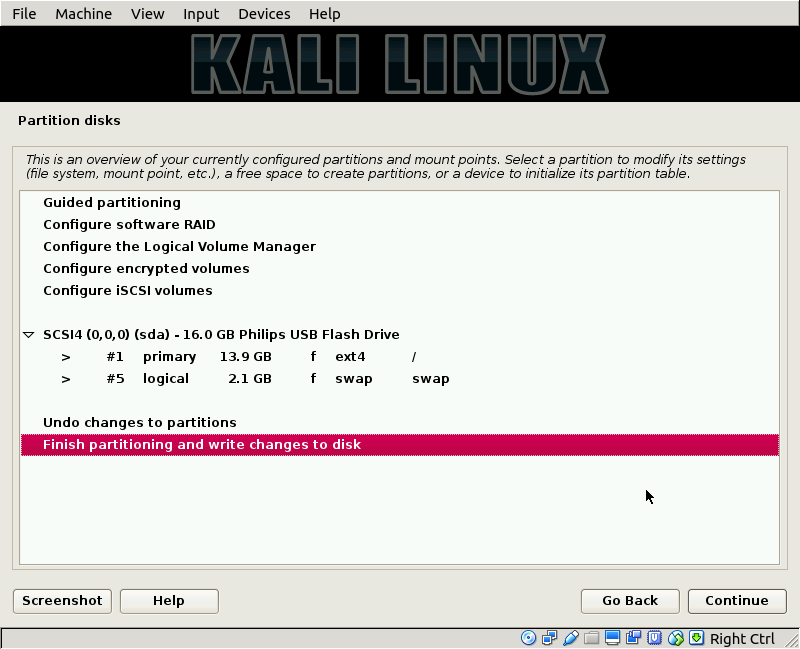
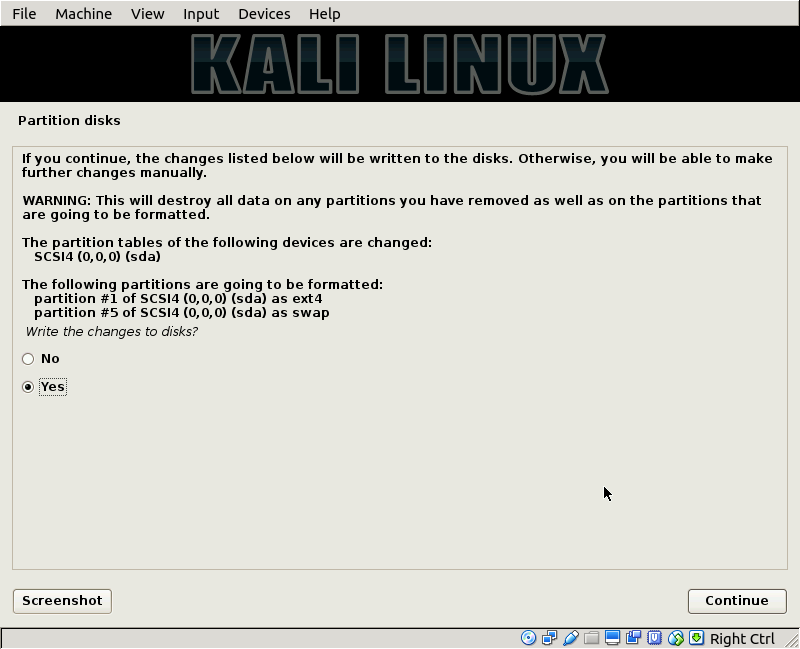
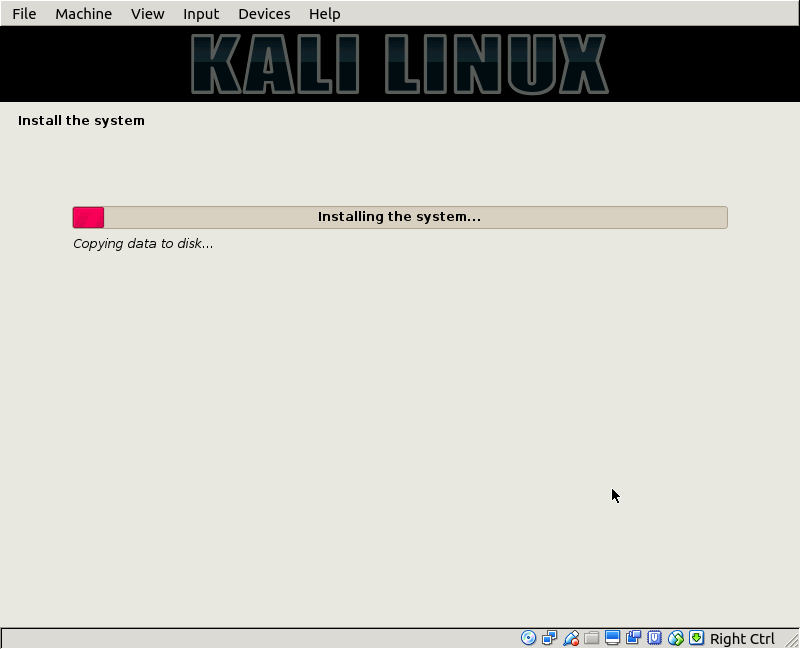
After attaching Kali ISO image, every thing is the default installation of Kali. Here are some screen shots from my installation:

That’s it. You may like to boot with real computer or with your VirtualBox.


Sir i tried but it showed error..
here:
Failed to open the disk image file C:\extdi2sk.vmdk.
Permission problem accessing the file for the medium ‘C:\extdi2sk.vmdk’ (VERR_ACCESS_DENIED).
Result Code: VBOX_E_FILE_ERROR (0x80BB0004)
Component: MediumWrap
Interface: IMedium {4afe423b-43e0-e9d0-82e8-ceb307940dda}
Callee: IVirtualBox {9570b9d5-f1a1-448a-10c5-e12f5285adad}
Callee RC: VBOX_E_OBJECT_NOT_FOUND (0x80BB0001)
It seems that You are trying to access C:\extdi2sk.vmdk which is a restricted location for normal apps. And you should run VBoxManage in administrative mode for accessing USB drive. Therefore, I suggest you to start cmd in administrative mode. If you do not know how to do it, please refer to this link.
I think this will solve your problem.
Hey Mir Saman,
Great tutorial, but im getting an error creating a virtual drive on Mac OSX. I copied your code exactly, replacing disk# with disk4s3, my disk identifier (?)
The terminal just says: “-bash: syntax error near unexpected token `<'"
plz help!
Hi Grif,
Thanks for your comment. First of all, I apologize for the mistake in command. I’ve removed <span> section from the command, which is part of HTML code.
But, I think the main error is for this part:
-filename “</path/to/file>.vmdk”
which you should enter a file name. For example: -filename /tmp/mydisk.vmdk
I think this will solve the problem. If you’ve faced any problem, do not hesitate to contact.
Hi Mir
I am running Windows 7 and tried to copy your command information in cmd as Administrator but but get the following error message ‘VBoxManage’ is not recognized as an internal or external command,
Can you help please
Cheers
Kevin
Hi Kevin,
You should change the directory of command prompt to the installation directory of VirtualBox. Usually the directory is something like: “C:\Program Files\Oracle\VirtualBox“. If you explore the folder using the default file explorer, you will find VBoxManage.exe file.
cd C:\Program Files\Oracle\VirtualBoxThen enter the VBoxManage command.
Hope it helps
Saman
Hi Mir,
I have managed to install the Kali on USB. However, I am not able to boot it from USB. The USB drive itself is not showing as bootable drive in Bios. So I am unable to select anything other than the hard drive. Please advise.
Thanks
Shanavas
Dear Shanavas,
I suggest two methods:
Sir I’m able to fully install kali on my pendrive. However my laptop uefi settings are not showing any option to boot from pendrive. I tried booting from this usb in my pc and it worked. But no success on laptop.
Tried disabling fast boot and secure boot also.
Does your laptop recognize the pendrive before installing Kali? Some old pendrives are not recognized in new laptops as far as I know.