
As I told in About Mir Saman section, I love classical musics. I used to listen to online classical radios which are broadcasting the musics 24×7. I was wondering how these services are working. In this post I will show you how to create an online radio broadcast station from your computer.
There are two main concepts in broadcasting live audio to the web users: Source and the Broadcaster
The concept is shown in the following figure. The source (such as Mixxx)will create raw/encoded media stream and will send it through web requests to the broadcaster (such as icecast). The broadcaster will store the stream temporary and then push it to the audiences. Audiences will download the stream from web and will pass it to a player (such as VLC) to be played.
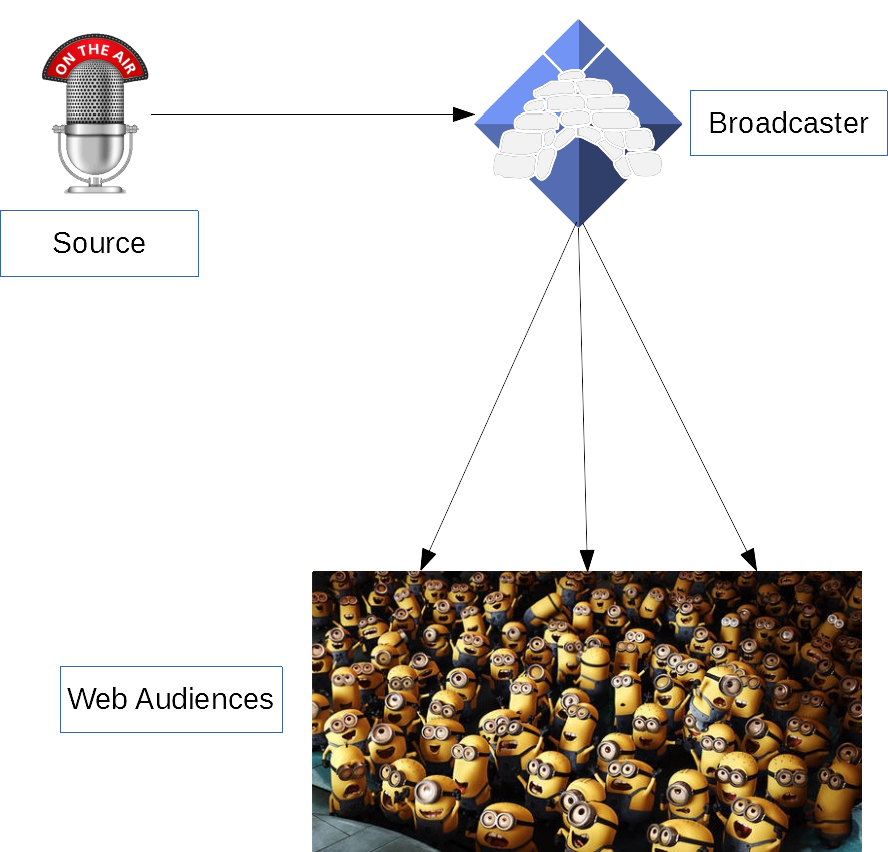
The source will receive the voice/sound from input and stream it using PUT HTTP method to the streamer server. The streamer will buffer the received voice/sound in its buffer and will stream to whom already started downloading the stream. It is normal that audiences receive the sound/voice with 5-15 seconds delay because of buffering of streaming server (from source) and buffering in audiences (from stream server).
The delay is just like the delay of videos in YouTube or other video services before starting video play.
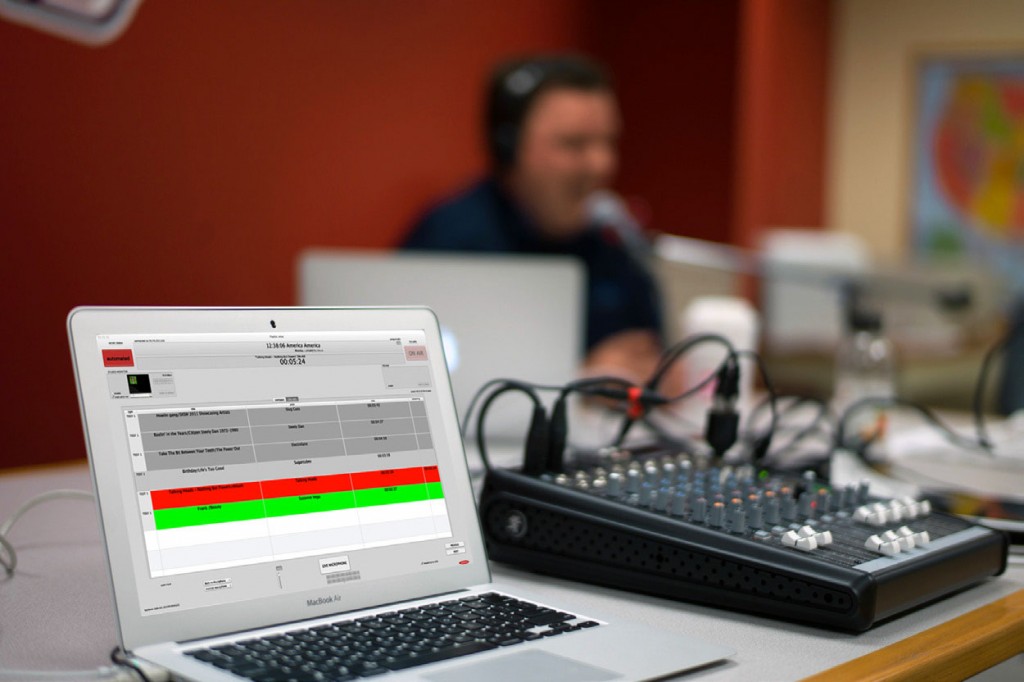
In this example I’m using Mixxx as the source, IceCast as the stream server and VLC as the audience client. I’m working on Ubuntu 16.04 x64 LTS as the stream server.
IceCast as the Heart (the Broadcaster)
Icecast is the heart of the Internet Radio. You can install it using the following command:
sudo apt install icecast2

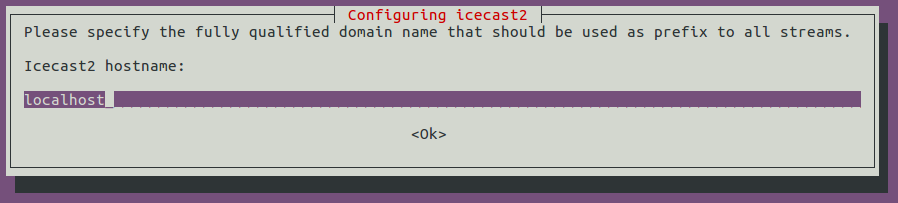
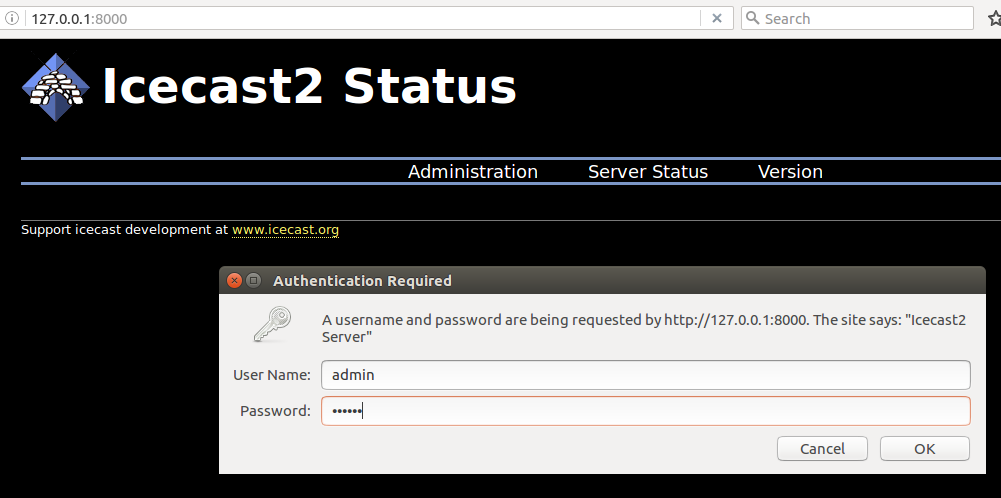
After installation process is done, IceCast asks you to be configured. The configuration steps with default values are shown in the following pictures:
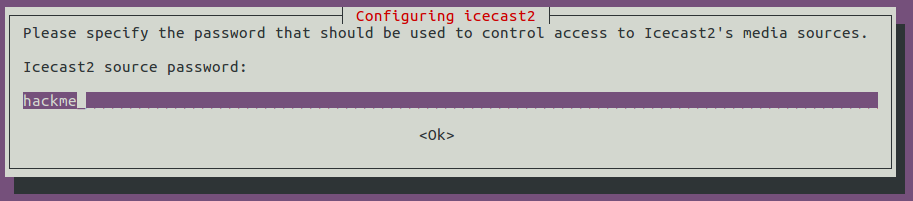

 One of the main configuration passwords is the source password, which is used by source to authenticate itself, else every one can use your stream server to broadcast themselves. 🙂
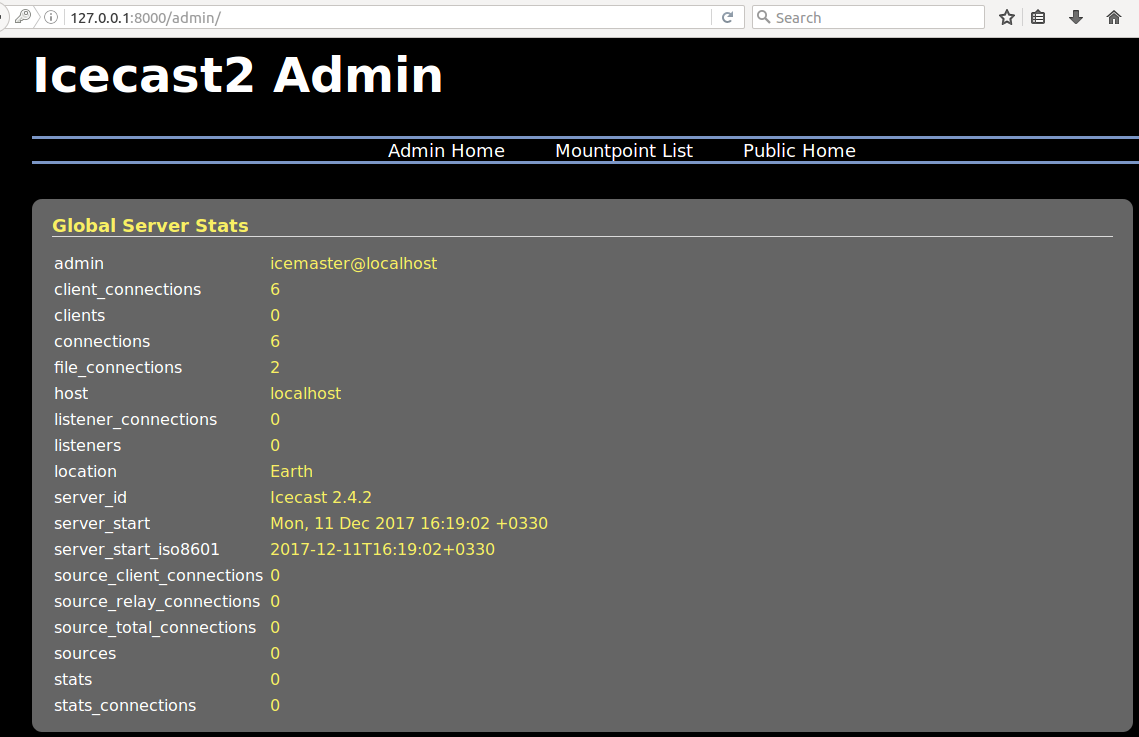
The other password is admin password which is used to access the administrative panel of IceCast through its web interface.
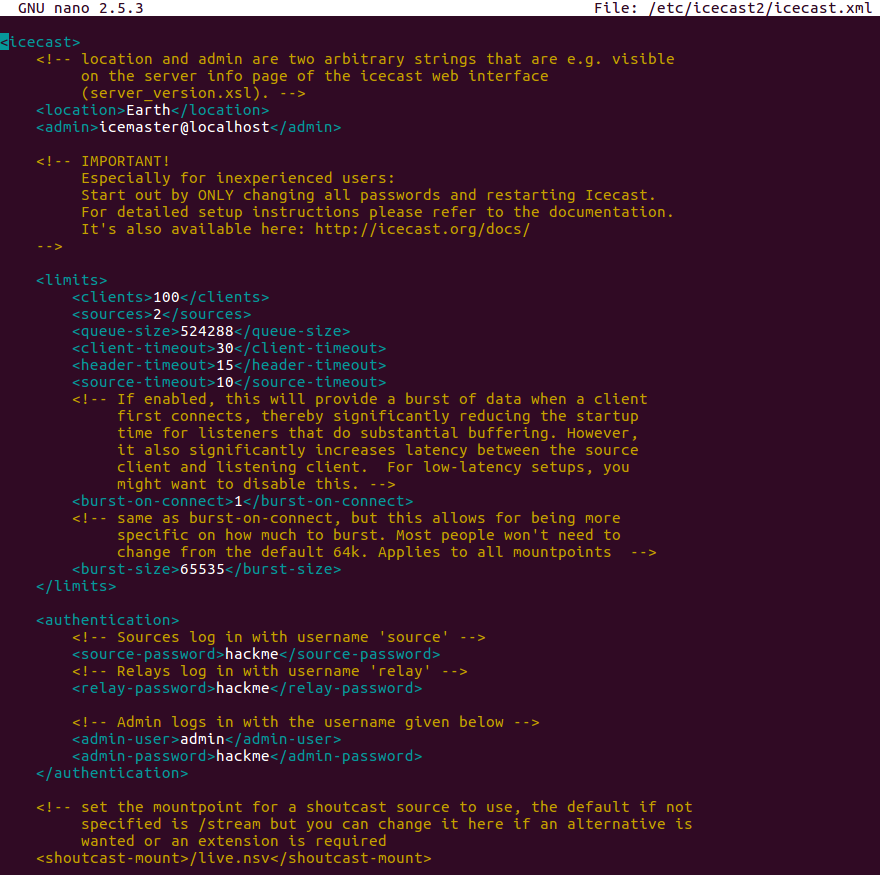
 All of the settings can be configured through IceCast configuration file located at /etc/icecast2/config.xml:
 Configuring Mixxx
Mixxx can be installed using the following command:
sudo apt install mixxx
After that Mixxx can be run by typing mixxx in terminal or using Desktop environment:
There are two main configuration:
- Microphone
- Stream Server
Configuring Microphone
In Options menu, click preferences. The first item is the input/output configuration. You can select your microphone device for the input. The settings are depicted in the following figure:

Configuring IceCast in Mixxx
In the Options menu, click preferences. The last item is the live broadcasting settings, which is depicted in the following figure:
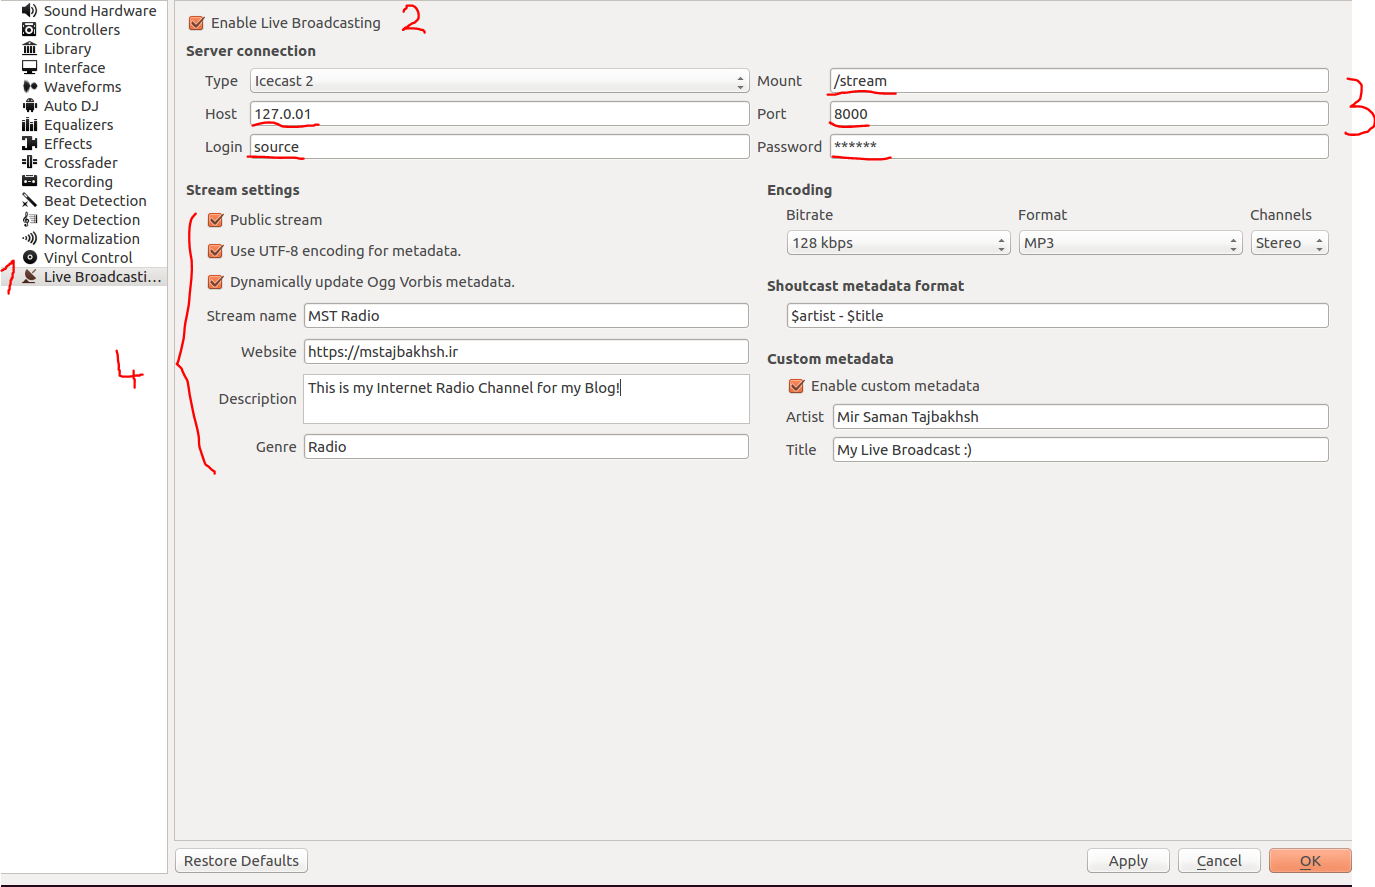
Everything is OK. After clicking Apply/OK in configuration, Mixxx should show “Connected to the stream server successfully!” or a similar success message. Detailed configuration is described in Mixxx documentation page in this link.
Now play music in Mixxx and your audiences will receive the output of Mixxx (sound/voice).


Now it is needed to configure the audience with VLC to start streaming. Each of your clients can find a link in right top corner of the IceCast web interface named M3U and contains a link like http://YOUR-ICECAST-SERVER-IP:8000/stream

Start Broadcast
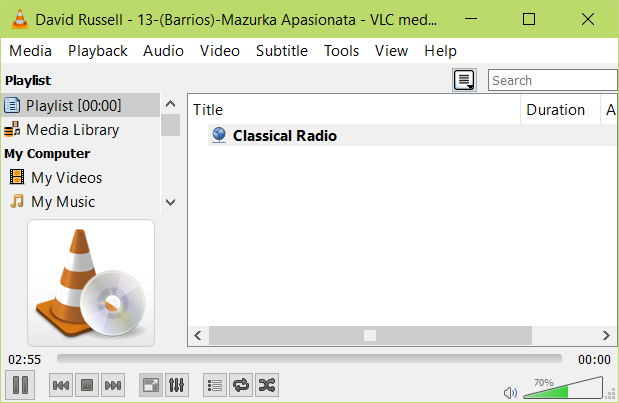
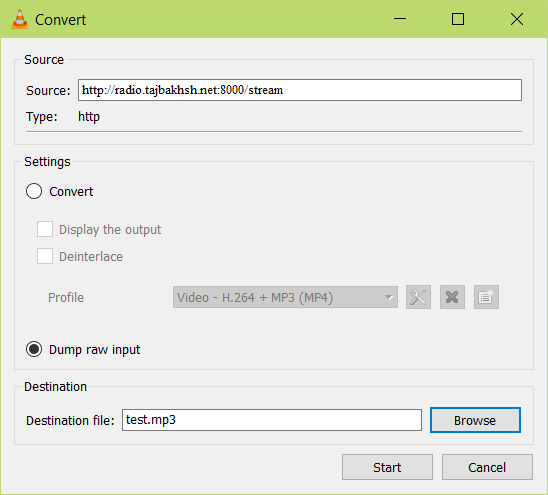
Copy that link and return to the VLC. Click Media > Open Network Stream and paste that link in it and click play. If you want to save the stream, just right click on the stream in the playing list, and click save > dump raw output.

And voila! Start broadcast your voice to the world!
